Outdoor Portraits
Outdoor Portraits
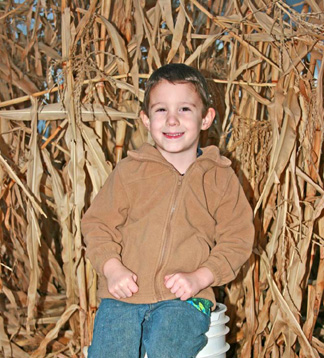
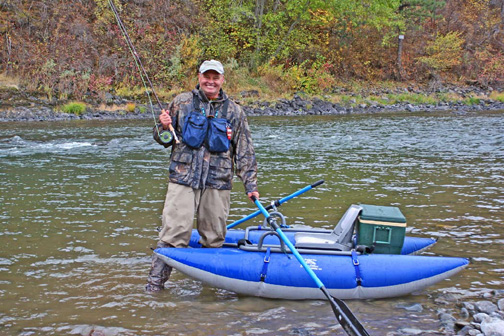
Lighting is a key factor in taking outdoor portraits. My favorite lighting is when the cloud cover consists of white high clouds. These clouds naturally filter the light so that the colors are natural and delicate. The contrast will also be ideal for portraits. With these clouds you can take photos all day long. You don’t have to be concerned about the light’s direction. It matters little if the lighting is from the front, back, or side. Dark gray clouds dull the colors and make the subject appear gloomy, although this emotion may be desired and look photogenic. Gray scale on a dark gray day may bring out some strikingly gloomy emotions. The absence of color will not distract from the subject. I would love to photograph maximum security inmates as they react with one and another on a gloomy day in their yard. Their facial expressions in black and white would be remarkable.
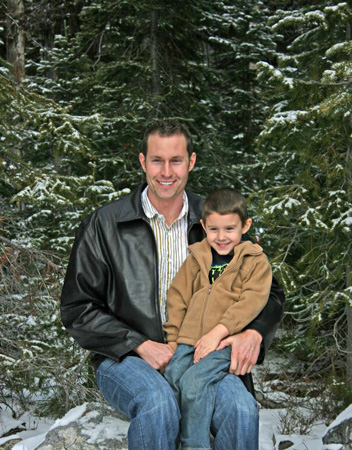
Sunny days are the most challenging times to take outdoor portraits. Avoid frontal lighting because it is too harsh on your subject. They will squint or make unnatural facial expressions. The high contrast will play a detrimental role in the portrait. Back lighting will present difficult exposure problems. Your photo may become so underexposed that it will appear as a silhouette. Side lighting is the most preferred light source on a sunny day. This direction will not put a squint on their faces, but a harsh shadow may appear. A fill-flash might help remove
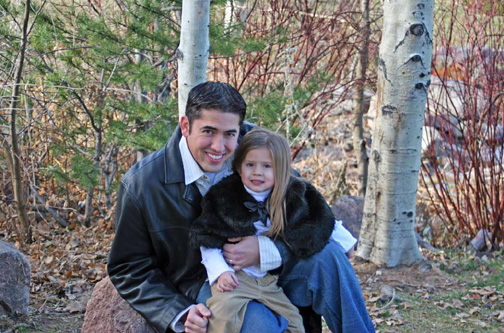
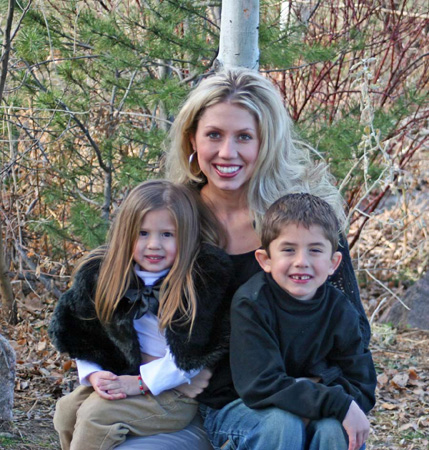
the heavy shadow, but whenever you use a flash the chance of red eye occurs. Red eye is the reflection from the flash on the subject’s retina. It’s reflected as a blood red color. It is easily removed by using Photoshop but the eye color may not be the subject’s natural tone.
A tripod set at the desired height is an aide to obtaining both a sharp focus and a good composition. A lowered camera height makes the subject look more important while a raised camera height makes the subject look somewhat inferior. Generally I like the camera height to be at the subject’s chest level on adults and at waist level on children. These camera heights make the subjects look superior.
Carefully observe the subject’s background for distraction. If the background is distractive try to compose the shot so these unwanted objects are cropped out of the picture. If that is not possible, blur them out by setting your camera to the Image Zone’s portrait mode. If you are
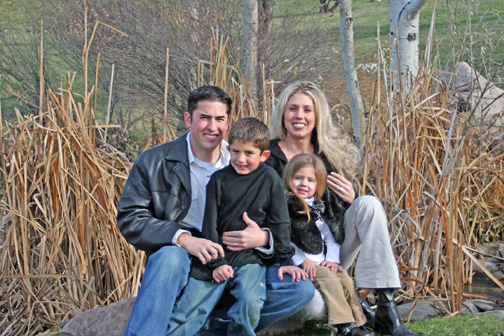
using the Creative Zone’s AV mode, set the f stop to a wider aperture. Either of these changes will blur the background and keep the subject in crisp focus. But if the background is attractive and adds to the photo, shoot in the Image Zone’s Landscape mode or in the Creative Zone’s aperture set to f20. This will set the subject and background in crisp focus.
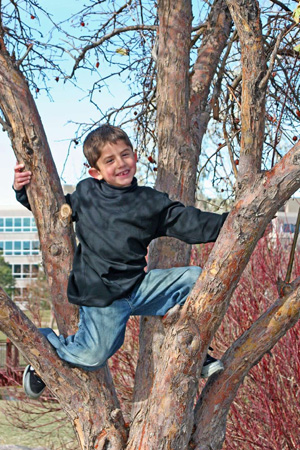
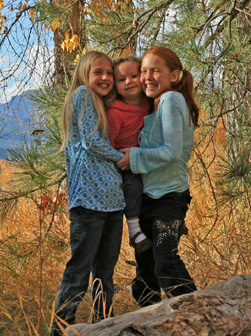
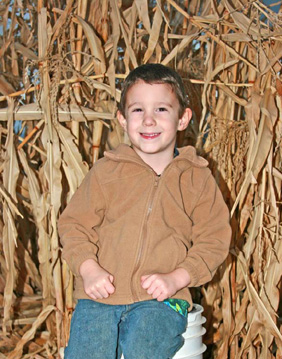
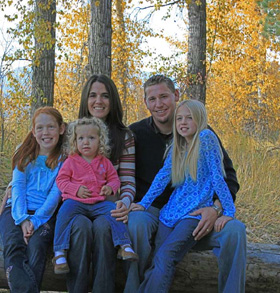
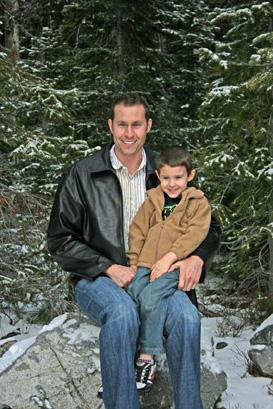
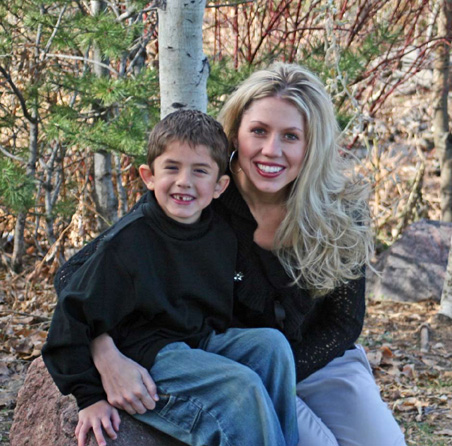
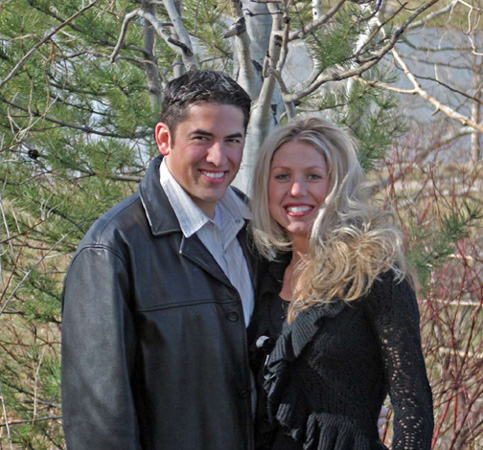
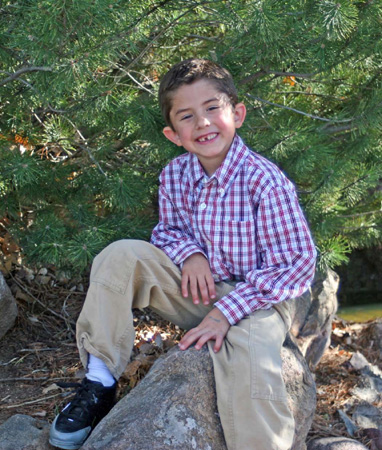
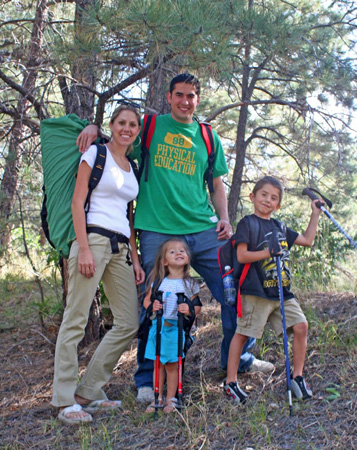
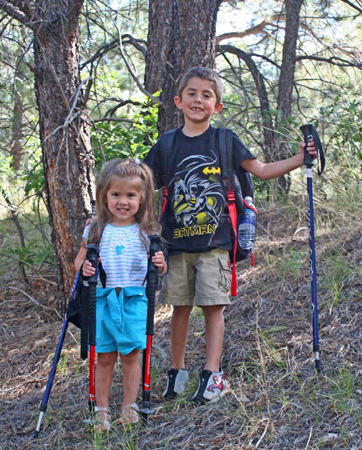
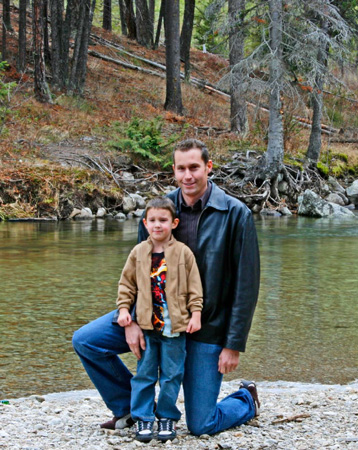
I personally enjoy portraits where both my subject and background are attractive. They enhance each other and can make the subject look better. Hence I want them both to be in focus. This sparks my imagination and makes my subject more memorable.
Use the camera pre-composed in the tripod. My thumb is on the remote shutter release and I’m viewing my subject with both eyes ready to capture the moment. I expose multiple images when my subject doesn’t expect it. Say or do something unexpectedly stupid to evoke a positive reaction from the subject. Ask them if they have seen an outhouse in the vicinity. This can evoke a natural smile. Your thumb is on the release to immediately react to a desirable expression. Again take far more shots than you would think that you need. Later save the best as you judge them on your computer.
