Light Tent Photography
The light tent is an effective way to capture a perfect image of an object. If you’re into selling stuff on e-bay, this is an easy way to present an accurate photo with correct detail and color.
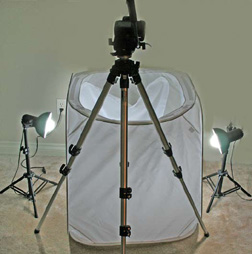
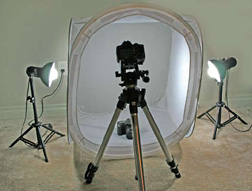
Light tents come in a number of sizes. I use two of them, a 12” x 12” and a 42” x 42” cube. Two halogen 50 w bulbs are angled on opposite sides of the tent. Removable background cloths come in white, black, red, and blue. The object is placed inside the tent with the lighting just above the object. The photo will be well-lit with soft white lighting.
The camera is tripod mounted and focused from either above or in front of the subject. If I’m using my point and shoot camera, I use the shutter release timer so that there is no camera movement when the image is captured. The portrait mode is substituted if the object has a shallow depth of field. The landscape mode is used if the object has a deep depth of field.
With my SLR digital, I usually opt to implement the AV mode, f20 aperture, mirror lock up, and a remote shutter release. This way I’m insured that the focus will be as crisp as possible.
If my subject is small, I will employ the macro mode on the point-and-shoot camera; moreover, on my SLR digital I will use a macro lens. The macro mode in the image zone can also be used with the SLR but mirror lock up and f20 aperture setting will not be functional outside the creative zone setting.
The end result is a nearly perfect image.
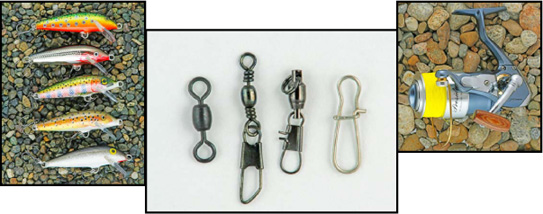
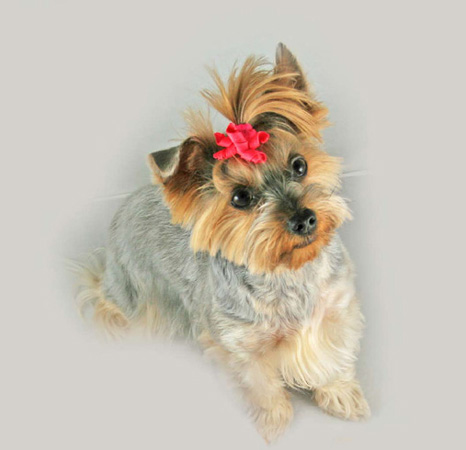
What follows is a photo essay of some of the objects I’ve photographed in my light tent. I also took an image of our puppy Lexie, although she looked a bit forlorn looking up at me in the confines of the tent.